6/7/2026 · by G
My Build Process for Non-NFA Others
How I Build: From a Look in My Head to a Finished Non-NFA Other
People ask me all the time how I land on the builds I post. Truth is, none of it starts with a parts list. It starts with a look. Here's the actual process I run, start to finish, so you can see how the sausage gets made.
It starts with the vision
Before I touch a single product page, I've got a picture in my head of what the gun should look like. For my recent builds, I was chasing that folding-stock-rifle silhouette — the aggressive, compact profile — without it actually being a rifle. That look is the north star. Everything after this step exists to serve it.
If you start with a parts list instead of a vision, you end up with a parts-bin gun. Start with the silhouette.
Build to a spec, then hunt the parts that get you there
Once I know the look and the platform, I lock in my hard requirements and go find parts that accomplish them. Not parts I think are cool in a vacuum — parts that move me toward the spec. Handguard length, brace profile, grip angle, optic height: every choice gets measured against "does this get me closer to the build I drew in my head, and does it keep me legal?"
That second half matters as much as the first, which brings us to the part nobody likes but everybody needs to understand.
The legal box: building a non-NFA "Other"
All my builds are non-NFA "Other" firearms. That means they're not pistols, not rifles, not AOWs — they're built from the start to live in the "firearm" category that doesn't require a tax stamp or registration. To stay in that lane, the build has to thread a specific needle:
- Built on a receiver that was never a rifle or a pistol.** This is the foundation. An "Other" is an "Other" from birth — a virgin receiver that's never worn a stock.
- No shoulder stock.* A stock makes it a rifle, and a sub-16" barrel + stock makes it a short-barreled rifle (NFA territory). A brace is legally not* a stock, which is how you get the look without the stamp.
- Overall length of at least 26". This is the big one. A vertical foregrip on anything under 26" turns it into an AOW — an NFA item. At 26" or more, the ATF's position is that it's no longer "capable of being concealed," so the foregrip doesn't bump you into AOW land.
- Vertical foregrip is on the table because of that 26" length. That's the whole trick: the length is what makes the foregrip legal.
A few measurement details that trip people up, so write them down:
- Removable muzzle devices don't count toward your 26". A pinned-and-welded device that's now permanent is part of the barrel; a screw-on brake or comp gets removed before you measure. Don't count length you can unscrew.
- Measure a brace folded/collapsed, and only standard receiver extensions count — superfluous "filler" material on an extension doesn't.
- Don't actually conceal it on your person. Over 26" keeps you out of AOW until you tuck it under a coat. Then you've made an AOW out of it. Don't.
The disclaimer that actually matters: I'm a builder, not your lawyer or your FFL. NFA classification turns on small details, and the rules around braces specifically have been a moving target in the courts. Verify your exact configuration against current ATF guidance and your FFL before you build, and check your state law on foregrips and braces — a config that's fine federally can still be a felony where you live. Measure twice, build once.
Source the parts individually, from the manufacturer
With the spec locked, I find every part on the actual manufacturer's page — individually. Not a kit, not a "complete build" bundle. Going part-by-part off the source pages means I'm getting real specs, real dimensions, and real photos to work from in the next step.
Assemble it in Photoshop first
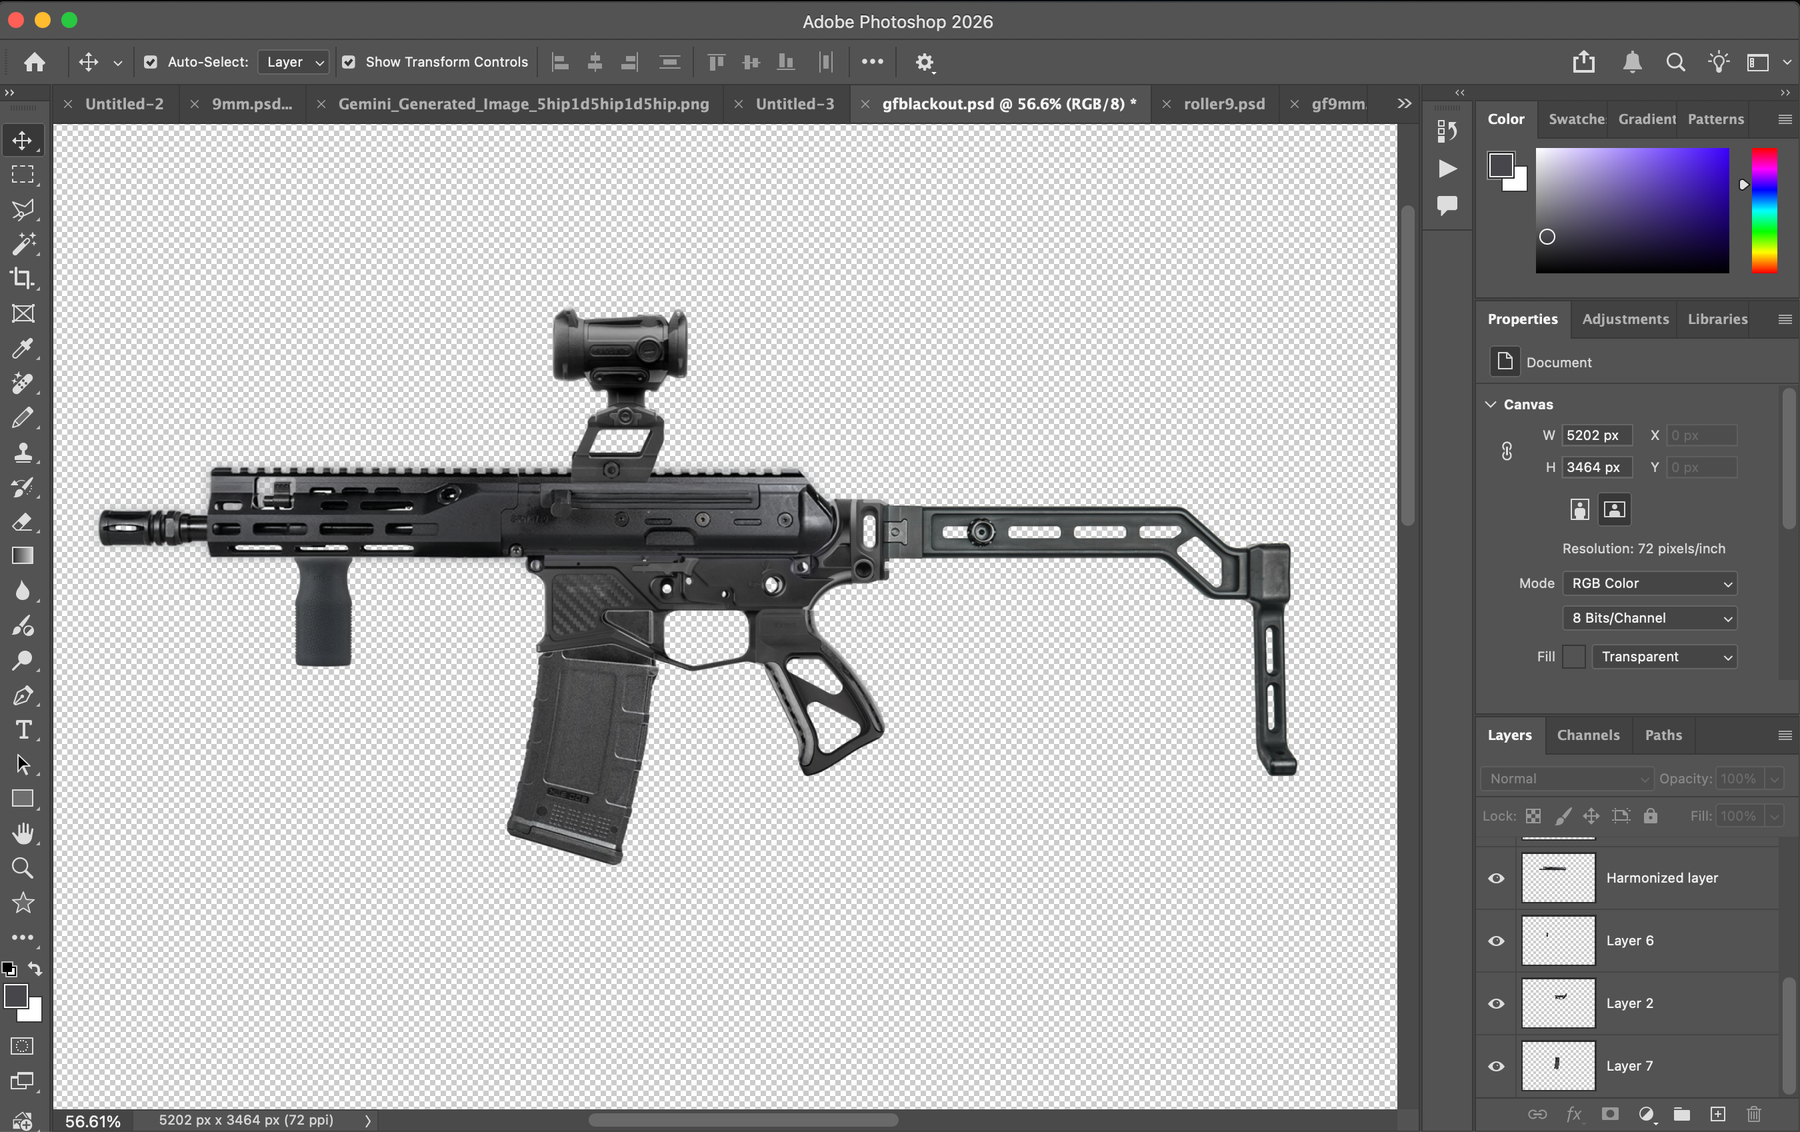
This is where the vision gets a reality check. I pull the product images and build the whole gun in Photoshop — every part to scale, laid out exactly how it'll sit assembled. This is my dry-run. If the handguard fights the brace, if the grip angle looks wrong, if the proportions are off — I find out here, for free, instead of after I've spent the money.
I'll move parts around, swap a brace, change a rail length, until the silhouette on screen matches the one in my head from Step 1.
Render a cinematic shot in Gemini
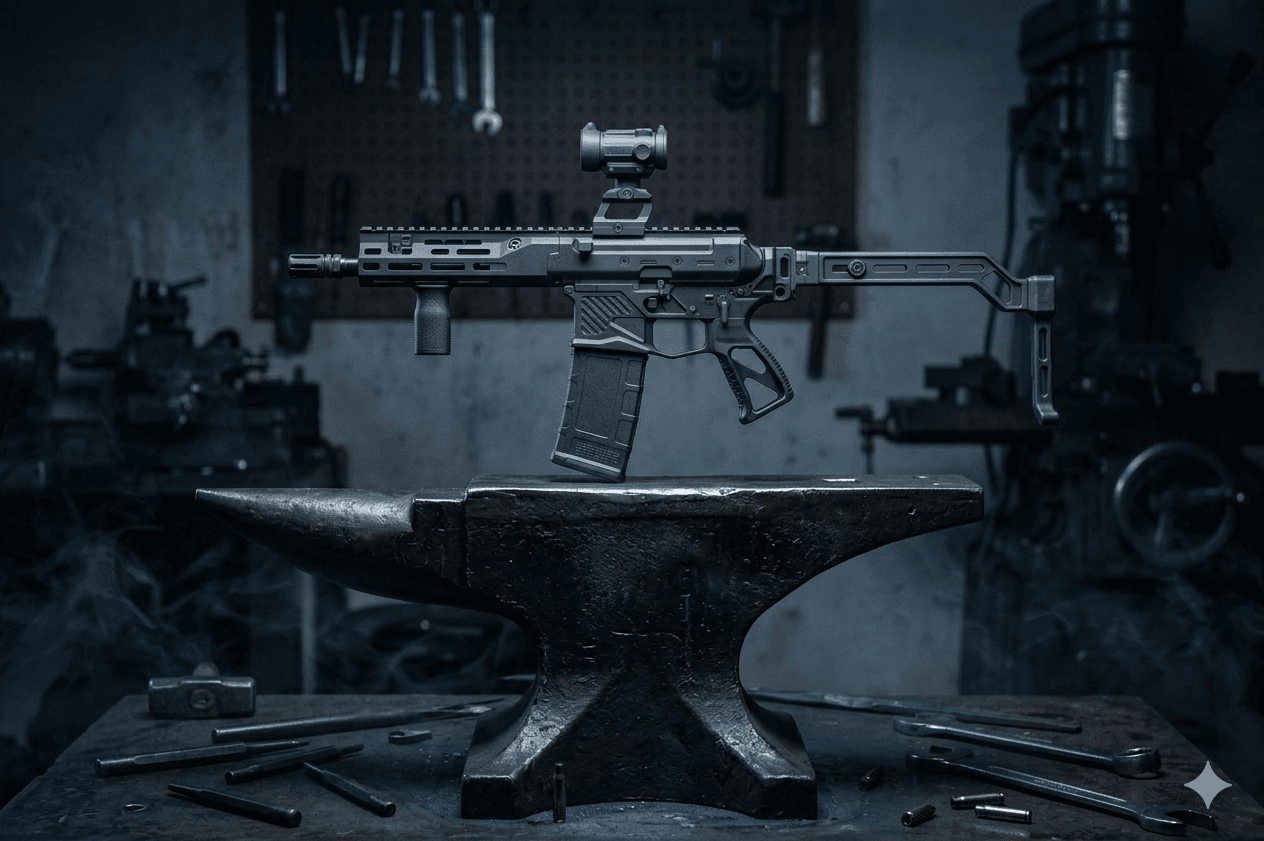
Once the Photoshop mockup makes me happy, I take it into Gemini and render a clean, cinematic image of the finished build. This is partly for the content and partly because seeing it rendered "real" is the final gut-check. If it looks right here, it's right.
Now — and only now — I order and assemble
After all that, ordering is the easy part. I've already validated the look, the spec, and the legal box, so the parts list is just the Photoshop layout turned into a cart. Parts come in, I assemble, and the finished gun looks like the picture I started with — because that picture drove every decision along the way.
That's the whole loop: **vision → spec → legal → source → mock up → render → build. It's more work up front than most people do, but it's why my builds come out looking intentional instead of thrown together. Plan it on screen, keep it legal, then turn the wrench.
Comments (0)
No comments yet.
Sign in to leave a comment.